Every iPhone owner knows the struggle of keeping their device pristine, and that trusty screen protector has been a loyal companion. But what happens when it’s time to say goodbye to that worn-out shield? Whether it’s bubbling like a bad science experiment or just looking like it survived a battle, removing a screen protector can feel like a daunting task.
Understanding Screen Protectors
Screen protectors play a crucial role in safeguarding iPhone screens from damage. They come in various types and offer different levels of protection, catering to user preferences and needs.
Types of Screen Protectors
Plastic film protectors provide a basic layer of defense against scratches. Tempered glass protectors deliver enhanced shatter resistance and often feel more like the original screen. Privacy screen protectors prevent onlookers from viewing content, ensuring discretion in public spaces. Each type aligns with specific user requirements, balancing protection with usability.
Benefits of Using a Screen Protector
Using a screen protector extends the lifespan of an iPhone screen significantly. It minimizes the risk of scratches, reducing the chance of costly repairs. Screen protectors also enhance resale value by keeping the original screen pristine. Furthermore, some protectors offer anti-glare features, improving visibility in bright conditions. Their variety means users can choose options that best suit their lifestyle and preferences.
Preparation for Removal

Proper preparation is essential for a smooth screen protector removal process. Taking the right steps increases the likelihood of avoiding damage to the device.
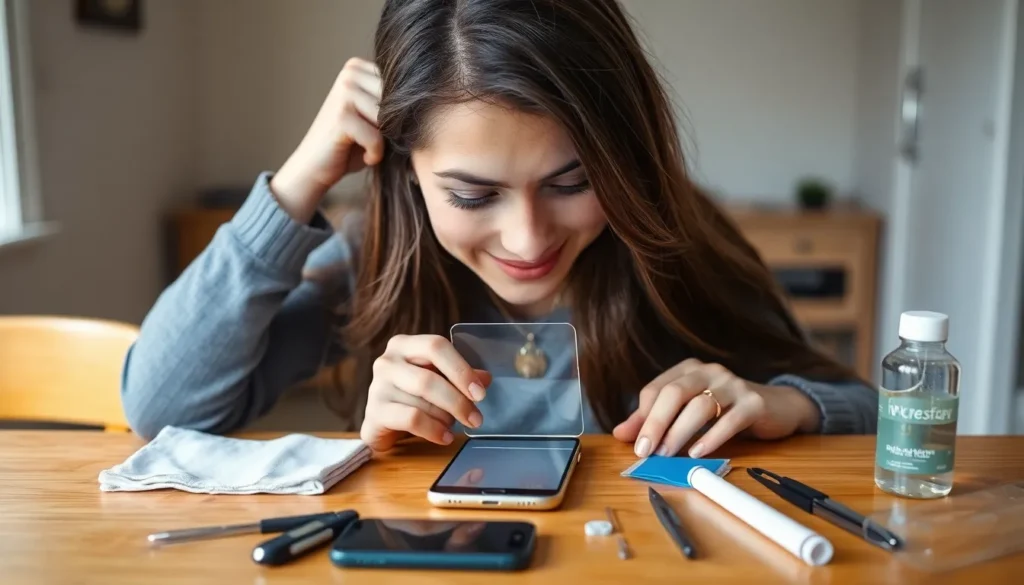
Tools You May Need
Gather necessary tools before starting the removal. A plastic card, like a credit card, provides leverage during the process. Use a microfiber cloth for any residue left after the protector is removed. Disinfectant wipes can clean the screen before applying a new protector. A pair of tweezers helps lift stubborn corners. Acquiring these tools simplifies the task.
Choosing the Right Environment
Selecting a suitable environment enhances the removal process. Opt for a well-lit area to clearly see the edges of the screen protector. Choosing a dust-free environment reduces the risk of particles sticking to the screen during removal. A flat and stable surface ensures control and comfort while working. Avoid humid locations, as moisture can make adhesive removal difficult. Making these choices contributes to a successful removal experience.
Step-by-Step Guide on How to Take Off Screen Protector on iPhone
Removing a screen protector from an iPhone requires careful steps. Following these instructions helps ensure a smooth process.
Turn Off Your iPhone
Turning off the iPhone prevents any accidental screen touches during the removal. Hold the side button and one of the volume buttons until the slider appears. Slide to power off to completely disable the device.
Start at One Corner
Starting at one corner simplifies the removal process. Using a plastic card or your fingernail, gently lift the corner of the protector. This first lift creates an opening for easier handling.
Apply Gentle Pressure
Applying gentle pressure along the edge aids in loosening the protector. While holding the corner, slowly pull it back at a consistent angle. Maintaining steady pressure reduces the likelihood of glass shattering or adhesive residue sticking to the screen.
Remove the Protector Slowly
Removing the protector slowly prevents damage to both the protector and the screen. Carefully continue lifting while monitoring for any stubborn areas. Stopping immediately if resistance is felt allows for careful inspection and adjustments.
Cleaning the Screen After Removal
Cleaning the iPhone screen after removing the screen protector ensures a clear view and optimal touch experience. It’s essential to remove any residue or dust to maintain device aesthetics and functionality.
Essential Cleaning Supplies
Microfiber cloths serve as the primary cleaning tool. They effectively lift fingerprints and smudges without scratching the screen. A gentle screen cleaner adds extra assistance in removing stubborn marks. Users might also consider using distilled water for a simple and effective solution. Disinfectant wipes provide dual functionality by cleaning and sanitizing the surface. Proper supplies make a significant difference in the final cleaning result.
How to Clean the Screen Properly
Begin by lightly dampening the microfiber cloth with the screen cleaner or distilled water. Users should avoid applying cleaner directly to the iPhone screen to prevent liquid damage. Gently wipe the screen in circular motions while applying light pressure. A thorough cleaning may take several passes to ensure all residue is removed. For stubborn spots, a gentle focus on the area ensures effective cleaning without risking damage. Finally, allow the screen to air dry completely before using the device again, guaranteeing a pristine finish.
Removing a screen protector from an iPhone doesn’t have to be a daunting task. With the right tools and approach it’s possible to do it safely and effectively. Taking the time to prepare ensures a smoother experience and helps avoid any damage to the device.
After successfully removing the protector it’s crucial to clean the screen properly. This not only enhances the device’s appearance but also ensures optimal functionality. By following the outlined steps users can maintain their iPhone’s screen in top condition, ready for a new protector or to enjoy its natural beauty.


